| Download Pricelist |
 |
|
|
Reiner E. Römer Oberhausen, Germany Fn: +49 208 6351070 Fx: +49 208 6351071 |
||
|
|
 |
     |
|
|
Other Corporate Links:

Other Corporate Links:
|
THIS PAGE IS UNDER CONSTRUCTION Some hints for DIY repair of QUADs 63
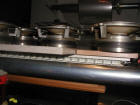
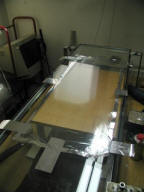
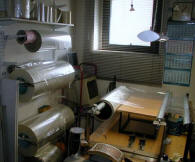
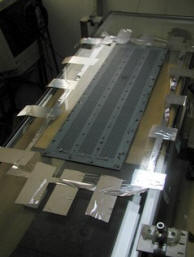
Working for our repair customers, we are stretching the Quad panels
with a special engineered multi-purpose jig, which also can be
arranged for stretching curved panels (Shackman, B+W DM70)or for
winding foil on rolls.
Customers for our repair materials will get all the following informations on video. Preparations: Peel off the old film and clean the contact borders thoroughly by sanding (P100 dry) and cleaning with cleaning alcohol. As work bench you need a plane, clean surface of at least 1m x 0,4m. This plane must be stable and fix, so that you can use rotating forces without seeing the table move. We use insulation window double glass. Lay a panel on the plate and draw the outer dimensions of it to the surface with a cd pen righ tinto the middle of the plate. Not necessarily very precise. It is only an orientation for later positioning of the tapes and the panel to be glued. Materials: PU-Adhesive (eg. PMU-2020), Special Silver tape (TP-2048)and normal Scotch tape, cutter, scissor, wooden weight plate(19mm), at least 30kg additional weight, 2-way coating liquid (PMMA 2.5), clean cotton cloth.
Remarks: Do not use normal sticky tape (colour usually silver grey or black). Its non-gluing side is normally not appropriate for gluing on it. In the opposite, it is explicitly made non-gluing for not attracting paints or other glue. This kind of tape will not constantly withstand the force of the stretching tension. The whole process would be unsuccessful.
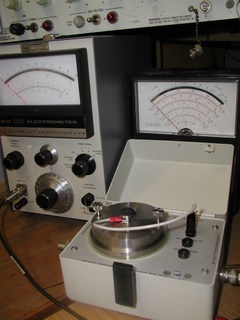
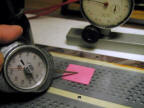
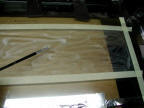
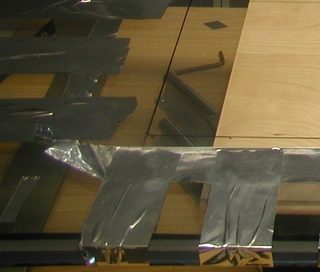
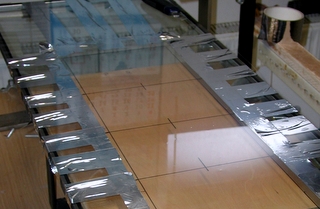
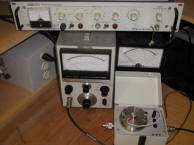
Below you see a well done repair by a pro company, although again with un-sufficient stretching. The mechanical diaphragm tension shows only half the value (left) than the original panel (right, black coating). That will result in too low a resonance frequency. In this case the resonance frequency is half as low as it should be. The sound becomes duller, less crispy and more distorted. But actually most important is the danger of flapping and finally a "gluing" diaphragm during charging process . On the other hand, the sometimes recommended 2kg per strip tension is way too high. That will end up in too high a resonance frequency.
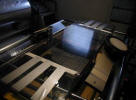
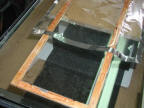
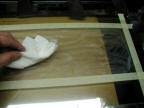
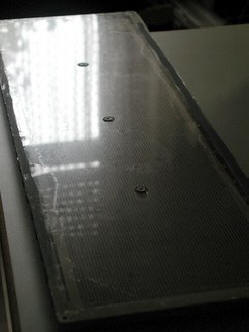
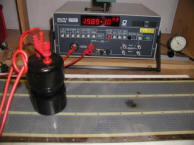
The image below shows a wrong coating of the same panel. It has the appropriate conductivity, but one can see very well defined borders of highly concentrated coating liquid. That are areas of higher conductivity which lets the charge keep moving on the diaphragm . So the liquid has to be better distributed in order to provide constant and stable charge to the whole diaphragm area. Not doing so will result in a kind of buzzing and an unbalanced frequency response.
Trust in our experience. You will be satisfied. Prices depend on time spent. No costs for checking. Best lasting results guarantied. It will pay. You can also join the SHACKMAN Discussion Grouproup Actual SHACKMAN auctions Online-Shop
|
Other Corporate Links:
|
|
|
||


|
Reromanus Shackman |